Reference
The first step of any project should be to gather reference - images, videos, real world examples, other video games - the source of the reference doesn't really matter as long as you have some resources to look back on and be inspired by.
This can take a few hours, half a day or a couple of days, depending on the size of your project, but make sure you don't skip it - projects with good references always work out better than ones without.

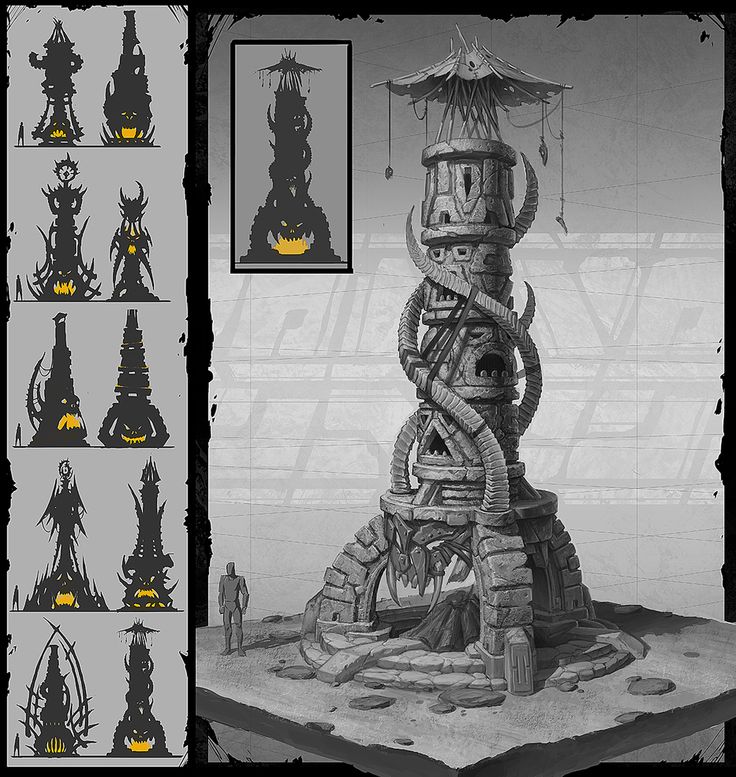
Mood board and concept art
Having thousands of reference images can be overwhelming and drawing from too many sources can create just as many problems as not having enough reference, so take the time to break down your reference images into 1 or 2 mood boards that really capture the qualities that you wish to bring to your project.
You can also start to explore your ideas in 2D here with concept sketches - don't worry if you're not a good 2D artist, the sketches are to play with composition and lighting etc. not to be finished pieces of art themselves, even a few small, quick, black and white sketches can be very helpful.
Blockout
At this point you should be ready to move to 3D and start blocking out your scene. Again this is a point for experimentation - don't get bogged down in the details of the small props or materials at this stage. The important things to focus on are composition, lighting, mood, scale etc. You should still be exploring different ideas and be willing to make big cuts and changes to your project at this point.

First pass lighting and cameras
At this point I would experiment with different lighting set ups and start to plan out some basic cameras to work with. The earlier you start thinking about the final presentation of your work the more you can help that to inform your workflow and decision making process. If things about your lighting aren't working, we're still only in blockout stage, so it's very easy to go back and forth and adjust the environment to suit.

planning
At this point you should have a good idea of the project scope, composition and lighting etc. The major questions will have been answered and things should be set up so that you have an idea of the final compositions and/or flythrough. Now is the time to start to plan the rest of the work - with a detailed asset list and time breakdowns - be thorough and realistic and make sure to prioritise your assets as to their importance for the overall scene.

the work
Finally the project is fully underway and the real asset creation can begin. Use your asset list and prioritisation to inform your workflow - work on the larger, more important elements first (architectural elements, tiling textures etc.) so that you can quickly start to see the final scene come together. Don't overwork things - stick to your schedule where you can and remember that you can always come back to the final piece and polish later - overworking a ground tiling texture could end up being a massive waste of time if you later decide to change the floor material, so try to work in large, quick passes over the whole scene - instead of really finely detailing specific things too early.